I love these sets, with all their fun details. And in this card, I used multiple types of DSP to create a scene with a boardwalk, sand, and clouds in the sky. I also used the Perennial Postage Dies to add a detail reminiscent of a vintage post card.
This card comes from my recent online class. Learn more about my online classes here
Here's my card:
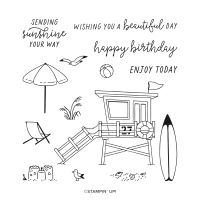
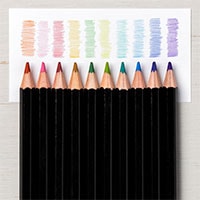
To make this card, I started by stamping onto Basic White Cardstock my images from the Beach Day Stamp Set in Tuxedo Black Memento Ink. I then used Watercolor Pencils Assortment 2 to quickly colour them. I didn't take a lot of time to do so, because I knew I would be smoothing out the colour later with Blender Pens.
Here are the pencil colours I used:
- beach hut - Balmy Blue, Night of Navy, Crushed Curry & Cherry Cobbler
- surf board - Cherry Cobbler
- beach ball - Crushed Curry & Balmy Blue
- standing seagull - left white
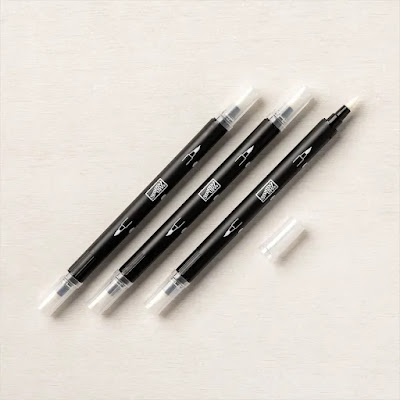
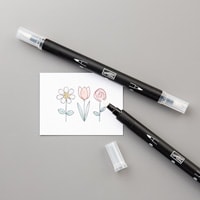
Once the images were coloured in, I used Blender Pens to smooth out the colour. I brushed the pens across each image, and I really like the effect that they achieved!
- I find I get the best results when I quickly brush the pen tips across the images, with a light hand
- To clean the pens, simply lightly scribble the colour off them onto scrap paper
- I suggest dedicating each brush tip to a particular colour family; e.g., yellow, red, green, etc.
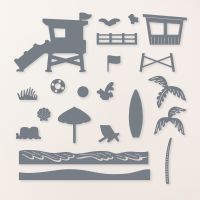
- my coloured images with Beach Day Dies
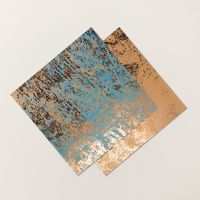
- a gently sloped pattern with Beach Day Dies into a 1" x 4 3/4" strip of Oxidized Copper Specialty DSP, to create the look of sand dunes
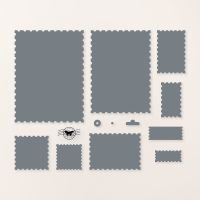
- a 3 3/4" x 5" postage stamp-style panel with Perennial Postage Dies, from Blueberry Bushel Cardstock
 |
| Holiday Product Shares Try items from the new catalogue - without breaking the bank! Choose from papers, ribbons & embellishments Learn more here |







No comments:
Post a Comment
How lovely of you to take the time to write a comment. Thank you - merci - woliwon!