Friends, I'm still visiting my parents by the beach, so I have another Beach Day card to share today. In case you missed yesterday's card, made to look like a vintage post card, you can find it here:
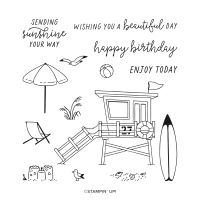
For this card, I started by stamping an umbrella, beach chair, and flying seagull from the Beach Day Stamp Set onto Basic White Cardstock in Tuxedo Black Memento Ink.
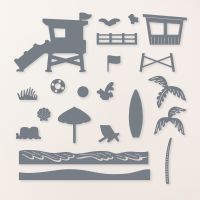
- waves in the top of a 1 1/2" x 5 1/4" strip of Coastal Cabana Cardstock, then I turned it upside down and also cut waves along the opposite edge to create a piece filled with waves
- a sun from Daffodil Delight Cardstock
- two sets of palm fronds from Granny Apple Green Cardstock
- a palm tree trunk from Pecan Pie Cardstock
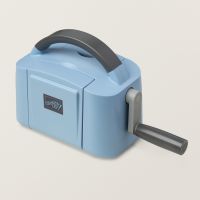
I love how the dies not only cut out the images from the stamp set - but also provide more choices not in the stamps, such as the palm tree and waves:
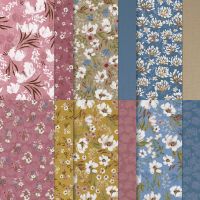
I next took a 2" x 5 1/4" piece of Wildly Flowering DSP and gently ripped along one 5 1/4" edge, on a slight diagonal. This creates a white edge that looks like surf breaking on the shore, with the DSP being the sand. I then stamped my sentiment in Tuxedo Black Memento Ink onto the bottom of the paper.
To assemble the card, I first adhered my waves to the back of my "sand" DSP using household tape. Then I attached the waves and sand to the bottom of a 4" x 5 1/4" panel of Pool Party Cardstock.
With Multipurpose Liquid Glue, I adhered all of my die cuts to the card. One exception: I used Mini Glue Dots to attach the palm fronds to each other, as this meant the leaves could move freely, creating a 3D effect.
Using Stampin' Dimensionals™, I added my panel to a 5 1/2" x 8 1/2" Pecan Pie Cardstock card base. I embellished with Adhesive-Backed Dots for Days. To finish, I added a 3 3/4" x 5" Basic White Cardstock writing panel inside the card.
Friends, I hope you enjoyed this project! Please check out my Special Offers below - including Holiday Product Shares, a BOGO starting soon, and Online Classes!
Special Offers:
 |
| Holiday Product Shares Try items from the new catalogue - without breaking the bank! Choose from papers, ribbons & embellishments Learn more here |






No comments:
Post a Comment
How lovely of you to take the time to write a comment. Thank you - merci - woliwon!