Friends, today I'm sharing the final card in my FREE June class. Place an order with me in June (min. $60 before tax/shipping) and receive my FREE Latte Love class by mail! Receive my FREE Latte Love Card of the Month to make, with any order or registration!
All paper pieces, embellishments & ribbons will be pre-cut and provided for you. Just add stamps, inks & adhesives!
Here's today's card:
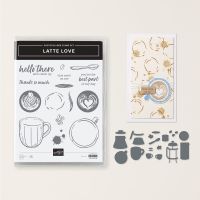
This card features the terrific Latte Love Bundle, which is just right for those of us who love a morning cuppa, hanging out in cafes, or both! If you missed the previous cards made with this bundle, find them here:
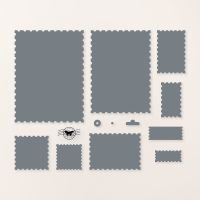
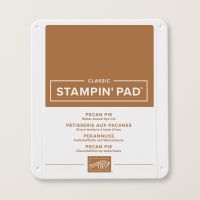
To make this card, I started by cutting a large postage-stamp rectangle from Basic White Cardstock, using the Perennial Postage Dies. Then I stamped my sentiment from the Latte Love Bundle onto its right bottom corner in Pecan Pie Ink. That's it for stamping!
The Perennial Postage Dies are a great candidate, if you're looking for multi-use dies. They include nesting shapes that will look fabulous on many projects:
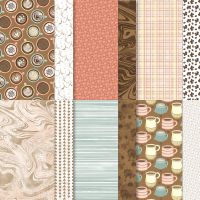
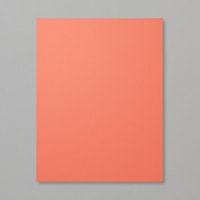
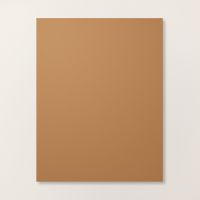
Next, I assembled the front square with the mug. I first cut a 2 1/4" square of A Little Latte DSP and adhered it to a 2 1/2" Pecan Pie Cardstock square. I used Paper Snips scissors to cut out a mug from the A Little Latte DSP. Then I used the Sending Love Dies to cut a small heart from Calypso Coral Cardstock. I adhered the heart to the mug, then used Stampin' Dimensionals™ to add the mug to the squares.
For the card base, I cut a 4 1/4" x 11" piece of Pecan Pie Cardstock, then scored it at 2 3/4" from each end. Inside the card, I added a 2 1/4" x 5 1/4" strip of A Little Latte DSP to the right edge of the panel. Over this, I centred a 3 1/2" x 5" Basic White Cardstock panel. For decoration, I added a mug that I had cut out from the DSP (different from the mug on the front).
To make the front panel, I folded forward the two flaps of the card, so that they met in the middle. Then I adhered a 2 1/2" x 4" strip of DSP to each. (That's the swirly pattern on the card above.)
I centred the postage-stamp rectangle on the card front, adhering only the top half to the top flap of the card, so the bottom half of the rectangle was free to move and flip up. I added a 1" x 4 1/4" strip of Pecan Pie Cardstock to the centre of the card, adhering to the edge of the top flap. Then I layered on the mug square, using Stampin' Dimensionals™.
Thanks so much for joining me today! I hope you've enjoyed this fun Bundle as much as I have. Please check out my Special Offers below, and have a wonderfully crafty day!
🧑🏼🎄Christmas in July Paper Share
NEW holiday papers are coming July 3rd! With this paper share, receive some of every available holiday paper - including decorated vellum (yay!) plus Gold & Silver Foil Sheets! Sign up by June 30.
🎁 June Promotion
Special Offers
NEW Sampler Club - $30/month
How fun would it be to get a sampling of different Stampin' Up!®️ goodies in the mail every month? That's exactly what my NEW Sampler Club offers - for just $30!
In Color Club
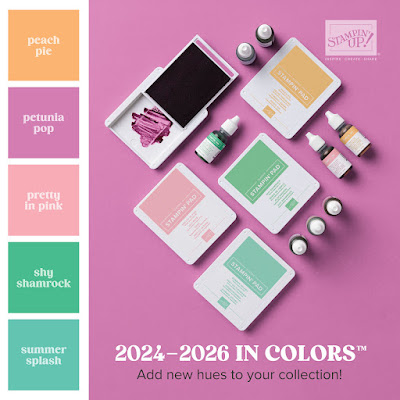
Collect the new In Color items without breaking the bank! You’ll receive an ink pad, Stampin’ Blends, cardstock and DSP in one colour each month for 5 months.








No comments:
Post a Comment
How lovely of you to take the time to write a comment. Thank you - merci - woliwon!