Friends, today's 3D Fun Fold card is one of my favourites - a stand-up pinwheel. It's the 3rd in our series of Fun Folds. (If you missed the other two, find them here and here.) If you're looking for a card to impress, this just might be it!
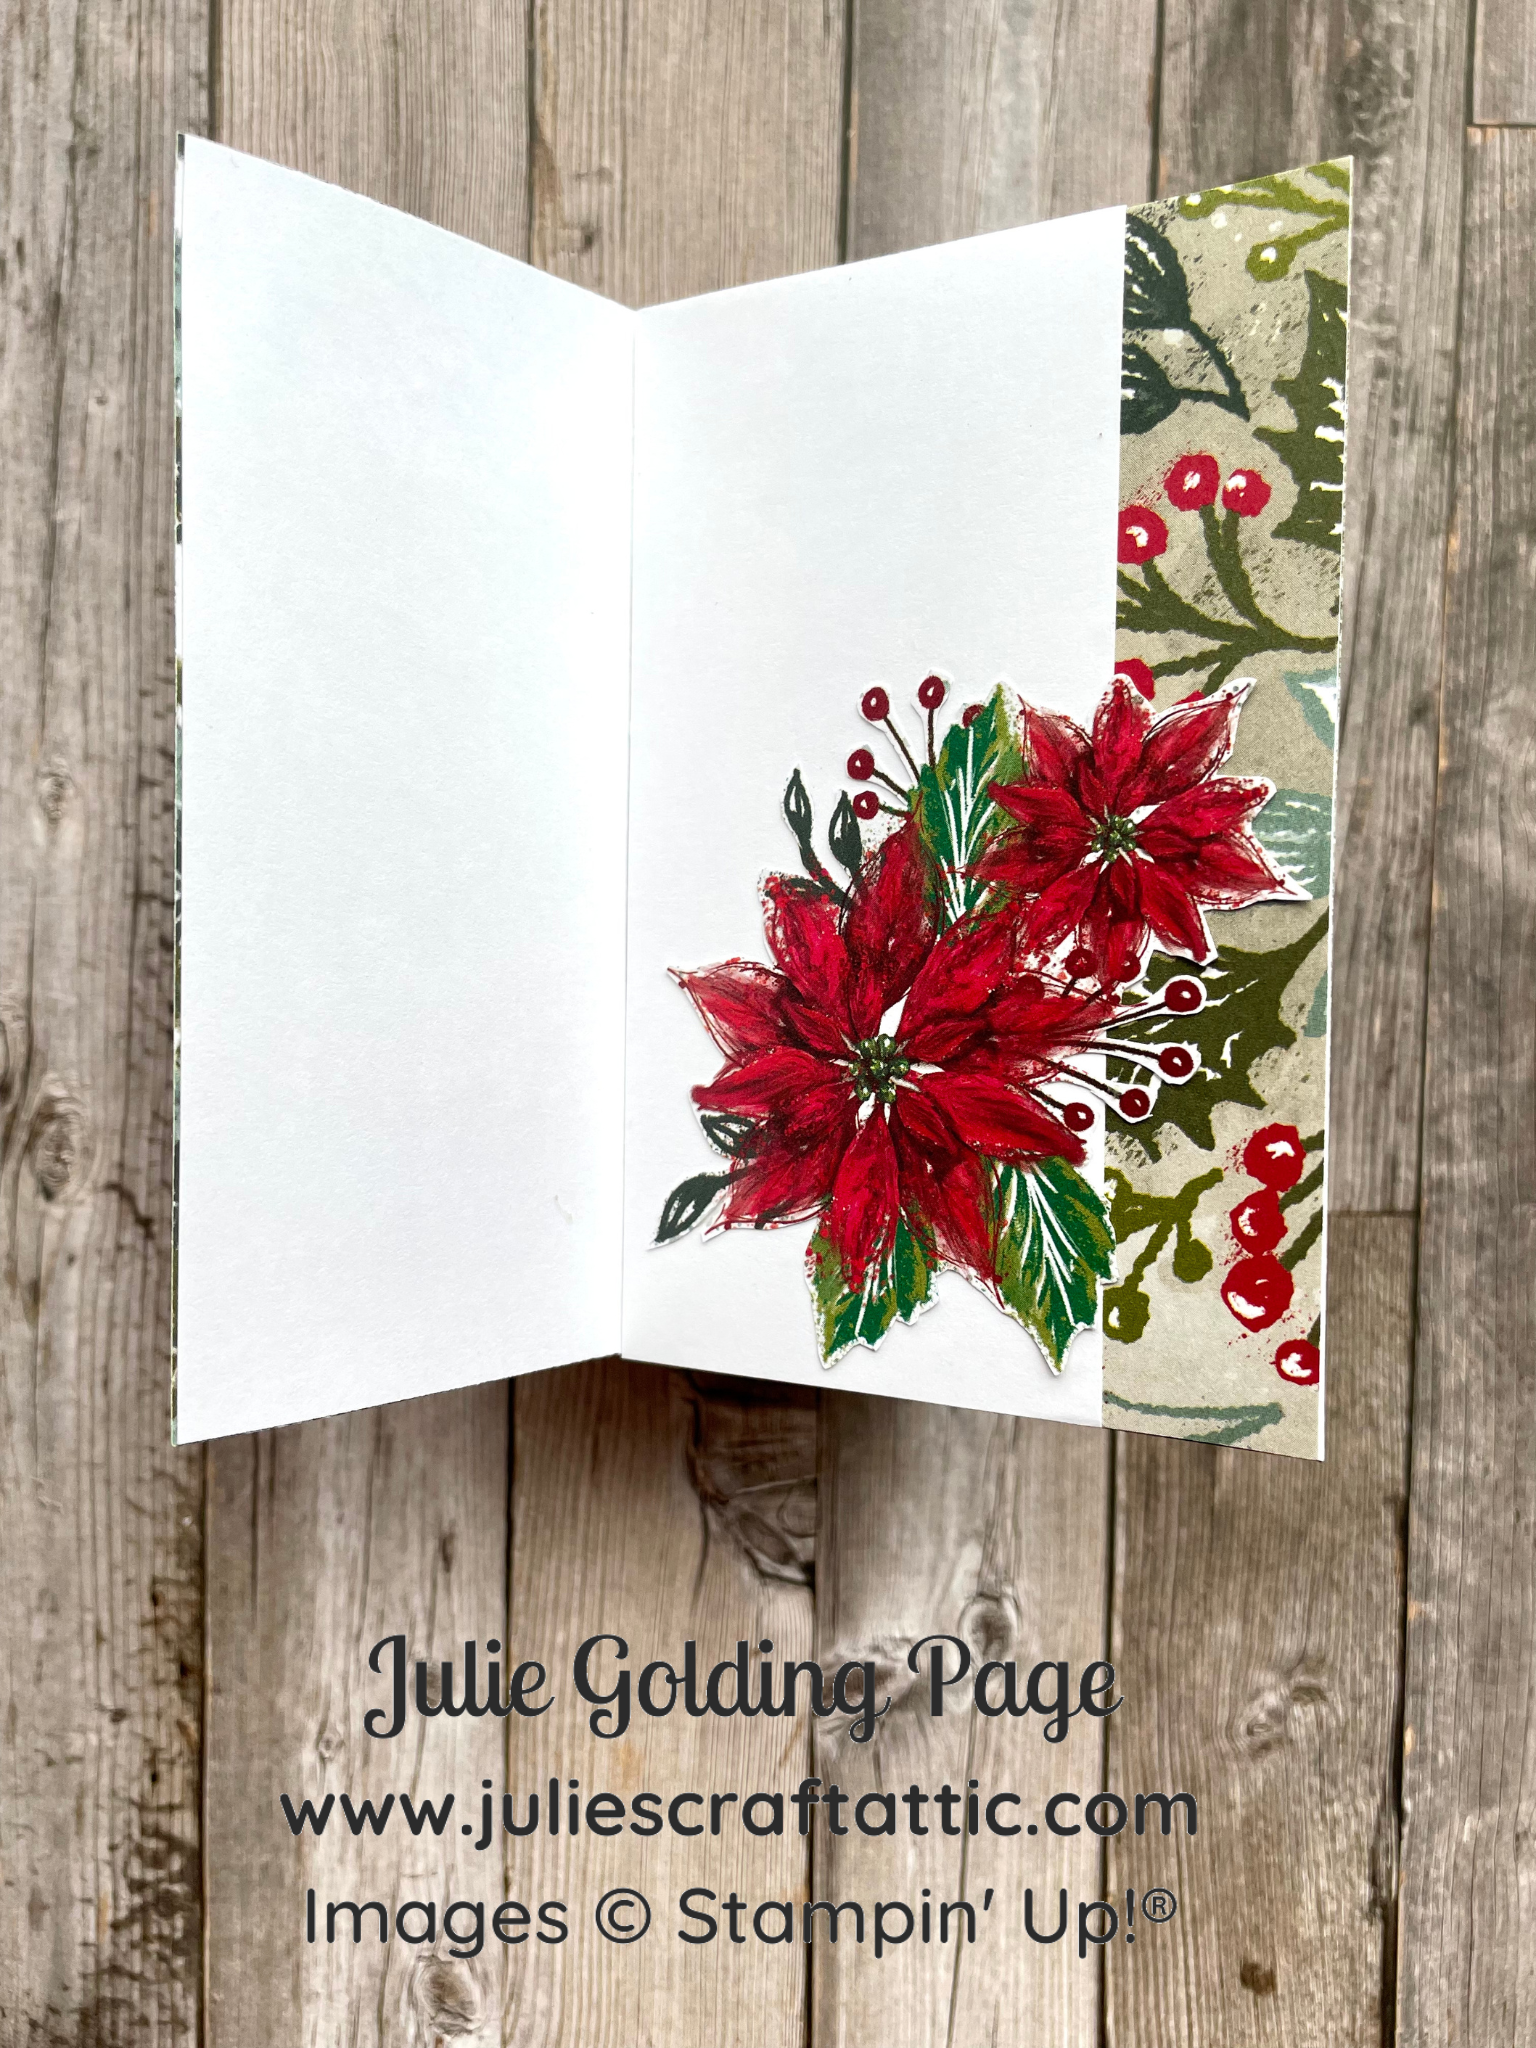
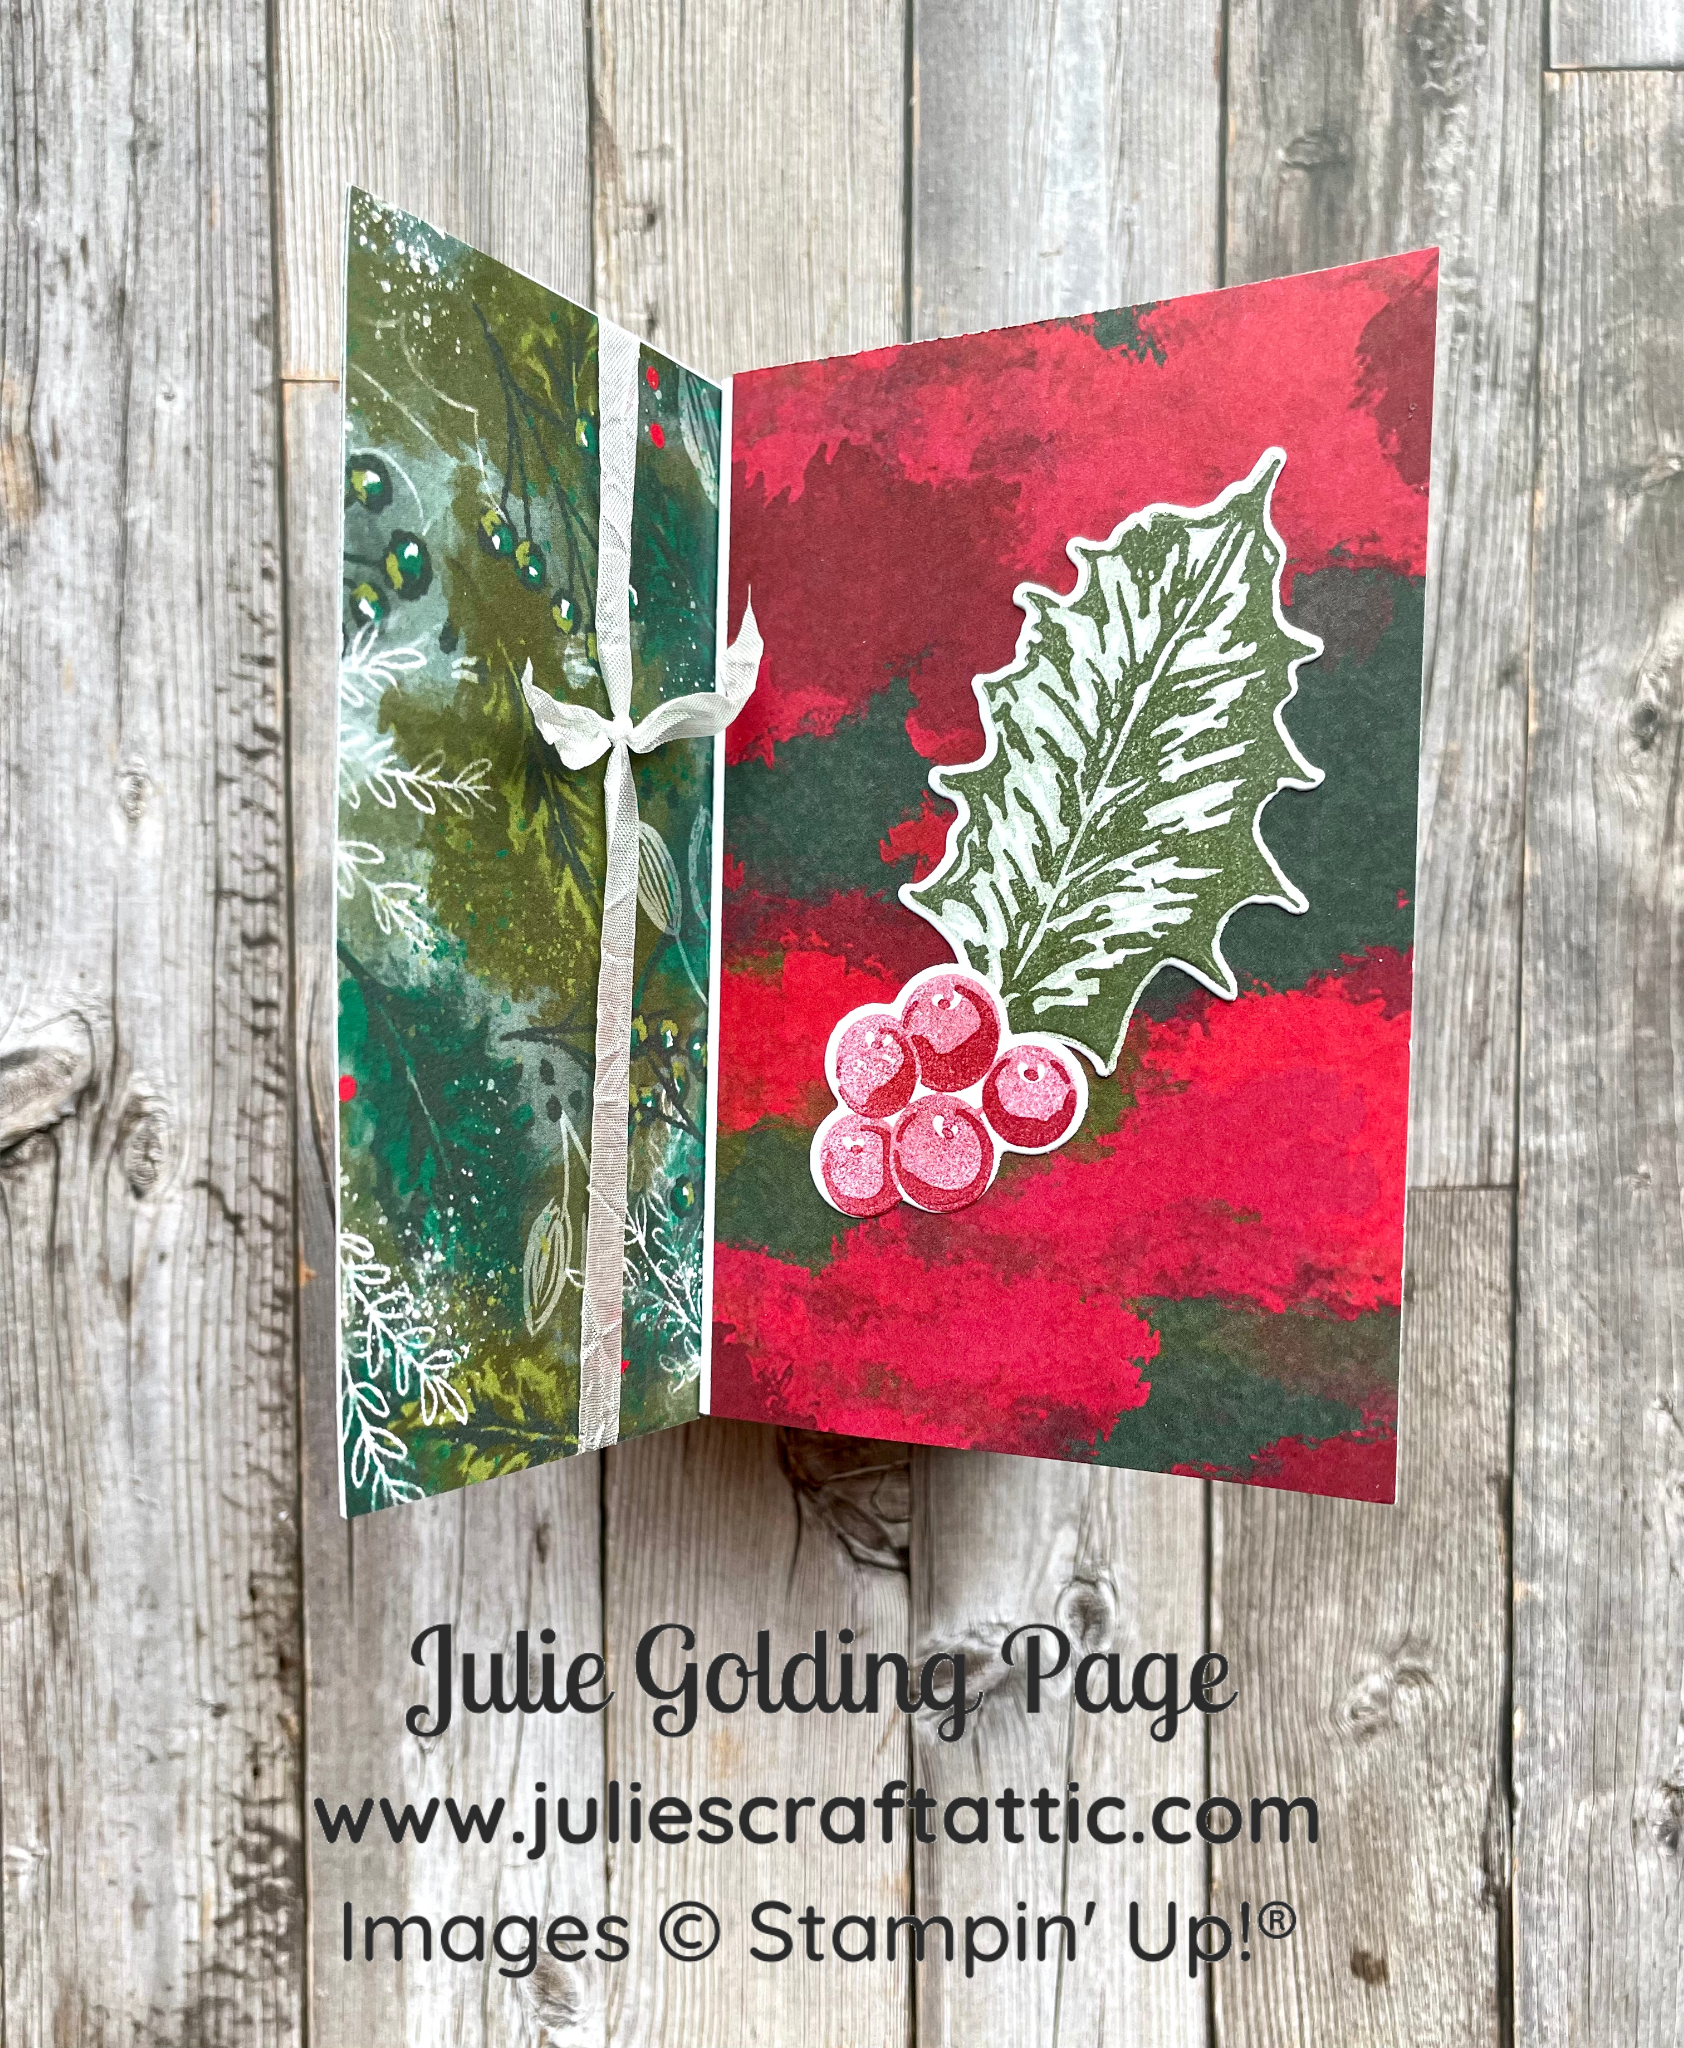
Once again, the card features the beautiful Leaves of Holly Bundle (Leaves of Holly stamp set & Holly Berry Dies) and Boughs of Holly DSP. Le jeu d'estampes est également disponible en français.

- Cut as follows:
- One piece 4 1/4” x 5 3/4” of Basic White Cardstock
- One piece 2″ x 4 1/4″ of Basic White Cardstock
- Three pieces 2 3/4″ x 4 1/4″ of Basic White Cardstock
- Three pieces 2″ x 4 1/4″ of DSP
- Three pieces 2 3/4″ x 4 1/4″ of DSP
- One piece 3/4″ x 4 1/4″ of Cardstock
- Score the 4 1/4” x 5 3/4” Basic White piece, in landscape orientation (longest side up), at 3/4″, 1-1/2″, 2-1/4″, and 3″.
- Fold on all the score lines so that you form a rectangular prism (3D shape with empty squares on both ends and rectangle paper sides).
- Apply Multipurpose Liquid Glue to the 3/4” x 4 1/4” section on the end of the paper. Adhere to the 2 3/4” x 4 1/4” panel. This forms the 3D tower. With the largest panel down, use your fingers to press inside the tower so that the glue secures the 3D shape well.
- Also with Multipurpose Liquid Glue, attach the three 2 3/4” x 4 1/4” Basic White panels to the other 3 sides of the tower, to create a pinwheel shape. Hint: start with your tower on the table and the large panel standing straight up. Apply glue to the tower piece that you see when looking straight down (it is parallel to the table). Add your new panel so that it sticks out to the right, at a 90 degree angle to the panel already part of the tower. Press inside tower to ensure the glue is secure. Repeat for other panels. (See photo below for resulting shape.)

- Adhere DSP panels as desired with Multipurpose Liquid Glue, trimming as needed.
- Adhere 3/4” x 4 1/4” strip of DSP to blank 2 3/4” x 4 1/4” panel on card.
- Drape a 13” piece of Crinkled Seam Binding Ribbon across same panel, tying a knot on the decorated panel on the other side.
- Adhere 2” x 4 1/4” piece of Basic White Cardstock over blank panel to cover ribbon. (This is the panel used to write your message or signature.)
- Cut out a poinsettia flower from DSP and adhere to same panel.
Decorate Panel 3 with trees DSP. Using Stylish Shapes Dies, cut a 2” Cherry Cobbler square and a 1 1/2” Basic White square. Stamp “Peace & Joy” in Real Red on white square. Hint: arrange parts of sentiment on tabletop to fit label, then pick up with block and stamp all 3 stamps at once. Add gold leaves as desired.

Decorate Panel 4 with poinsettias DSP. Stamp sentiment in Mossy Meadow onto a Basic White label cut with Holly Berry Dies.

Special Offer
From December 15 thru December 22, place an order of $60 or more, using host code XMP9E9RU and receive a FREE Yeti to Party take-home card class! Includes all card supplies required to make the 3 cards below. All the instructions are already available here on my blog. (Stamps and other tools not included. Some colour and product substitutions may be necessary.)

You'll also receive a FREE international tutorial bundle featuring the Framed Florets Bundle! (Ce produit est également disponible en français.) Plus I'll send you my handmade card of the month.
Join my newsletter today so you won't miss any future stamping deals and news!
And to see future projects, please follow my blog:

Thank you for stopping by, friends, and have a wonderfully crafty day!
")
")

 Designer Series Paper")

 Crinkled Seam Binding Ribbon")


No comments:
Post a Comment
How lovely of you to take the time to write a comment. Thank you - merci - woliwon!