Friends, today it's a dull day here at the cottage, and the sky is grey.
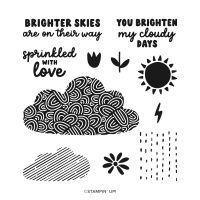
But it's the perfect time to share a card in a new series I'm starting today, featuring the lovely Bright Skies Stamps & Dies!
Here's my card:
My inspiration for this card was one shown on the Stampin' Up!®️ website, under the Bright Skies products. I find their professional designers do great work! And so I took their card, tweaked it to suit my own supplies and tastes, and this is what I got!
To start this card, I used the Bright Skies Dies to cut a number of pieces:
- a large cloud from Boho Blue Cardstock
- one small cloud from Basic White Cardstock
- two lightning bolts from Daffodil Delight Cardstock
- two large triangles for the corners, with cloud edges, from Boho Blue Cardstock
- two slightly smaller triangles for the corners, with cloud edges, from Basic White Cardstock
The Bright Skies Dies are remarkably versatile, and I have used the clouds and sun to create details for multiple projects that do not specifically feature these sets:
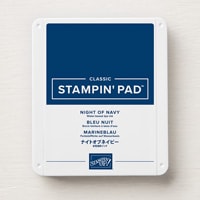
- my sentiment from the Bright Skies Stamp Set in Night of Navy Ink onto the Boho Blue cloud
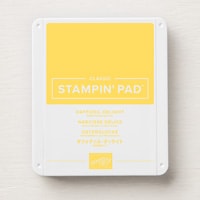
- a sun in Daffodil Delight Ink onto a scrap of Basic White Cardstock, then cut it out with the dies
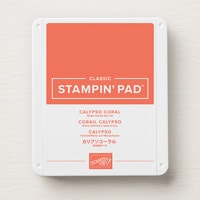
- two clouds with lines in Calypso Coral Ink onto scraps of Basic White Cardstock, then cut them out with the dies
The stamp set includes a lot of the same great elements as the dies. But some of my favourite stamps are the sentiments, with their friendly and attractive font:
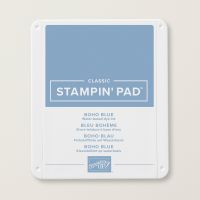
Then I used my Blending Brushes and Boho Blue Ink. I covered a 4 1/4" x 5 1/2" panel of Basic White Cardstock, making small circles and blending across the entire paper. It created an effect of a mottled blue sky - remarkably realistic!
To assemble the card, I first adhered my blended panel to a 5 1/2" x 8 1/2" Boho Blue Cardstock card base. I added the Boho Blue triangles in the left corners, then layered on the white triangles.
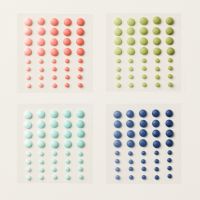
From there, I attached all the die cuts, layering some over others and tucking others underneath items I'd already adhered. To finish, I embellished with Ombre Matte Decorative Dots.
Thanks so much for joining me today. I hope you enjoyed this project - and will come back tomorrow for another one featuring Bright Skies!
Before I go, I have to tell you about a terrific & unique opportunity!
Online Stamping Extravaganza Coming Soon!
Coming up Sept 3 & 4 (and also available on replay), there will be a HUGE Holiday Catalogue Kick Off Party happening online! Huge, as in 16 videos of how-to's using new products! Demonstrators from across the USA and Canada will be providing the presentations - each using a different NEW item - and I'm honoured to be one of the presenters.
How to get in on this massive stamping extravaganza? If you've ordered with me in the past year, you'll receive an invitation! If you haven't ordered with me yet, just place an order by Sept 1 and I'll be delighted to invite you!
Click Photo to Purchase in my Online Store:








No comments:
Post a Comment
How lovely of you to take the time to write a comment. Thank you - merci - woliwon!