Friends, today we continue our Christmas in July series with the Sparkling Snowflakes Stamp Set.
We'll also add a little (easy!) extra sparkle with our Wink of Stella glitter brush.
Here's today's card:

To make this card, I started by using the Unbounded Love Dies to cut two labels: a smaller one from Basic White Cardstock and a larger one from 2024-2026 In Color™ Glimmer Specialty Paper (Shy Shamrock).
With Moody Mauve Ink, I stamped my sentiment from the Sparkling Snowflakes Stamp Set onto the white label.
I then adhered the two labels together. Tip: a dry glue such as Mini Glue Dots™ or Stampin' Seal works best on the glittery finish. The Glimmer Specialty Paper comes in a pack with all 5 new colours released this May. It's a great accent of bling to add to projects:

Next, I did the main part of the work for this card - stamping. While it takes a few minutes to do, it's a very economical choice, as very few supplies are needed to make a card like this one.
I started by placing each of the snowflake outlines from the stamp set onto its own acrylic block. Then I stamped them onto my 3 1/2" x 4 3/4" Basic White Cardstock panel. What I found worked best was to stamp each snowflake off onto scrap paper, before stamping the final image on the panel.
I inked my largest snowflake in Lost Lagoon Ink, stamped it off onto scrap paper, then stamped it onto the upper left of my panel. Then I inked my mid-sized snowflake in Moody Mauve Ink, stamped it off onto scrap paper, and stamped it near my first snowflake. Next, I inked my smallest snowflake in Shaded Spruce Ink, stamped it off onto scrap paper, and stamped two of its images on either side of the Moody Mauve snowflake. I continued in the same way across the entire panel, to give it a random look and also to allow for sufficient room for all the snowflakes to fit. I also stamped bits of snowflakes off the edges to add to the realistic feel.
After I finished stamping, I traced over each snowflake with my Wink of Stella glitter brush, to add a little bling.
Here's the Sparkling Snowflakes Stamp Set:

Assembly was easy! I added the stamped panel to a 3 3/4" x 5" Moody Mauve Cardstock panel. Then I used Stampin' Dimensionals™ to attach the panels to a 5 1/2" x 8 1/2" Basic White Thick Cardstock card base.
I cut a small length of Silver & White 1/2" Sheer Ribbon and arranged it as desired, then adhered it to the back of my labels with Stampin' Seal. With Stampin' Dimensionals™, I added the labels to my card.
Thanks so much for joining me today! Be sure to check out my special offers, as I'm celebrating Christmas in July all month long!
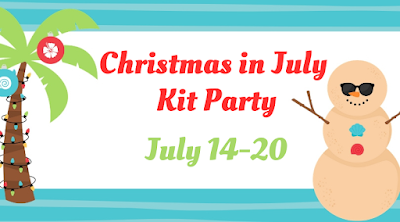 |
You're invited to my FREE Christmas in July Online Kit Party, which is on NOW! It's a great way to get a start on Christmas cards! Come along for the holiday kit demos, games & prizes. Plus I'll do a live demo of a card made with NEW supplies, today, Thursday July 18th! Invite your friends, and come join the fun!
Special Offers

 |
 |
 |
 |
 |
Create 3 seasonal cards featuring appealing pumpkins in this Online Class ! We'll go back to basics, focusing on just stamps, inks & paper! Includes $15 goodie bag, to keep you crafting after the class! Image ©️ Stampin' Up!®️ |
")

 Specialty Paper")
 Sheer Ribbon")


No comments:
Post a Comment
How lovely of you to take the time to write a comment. Thank you - merci - woliwon!