Friends, today I have a special seashore-themed holiday card to share. It even uses sand from our cottage community's beach!
Have you ever tried using non-holiday and year-round items to make Christmas cards? When the Seaside Wishes Bundle was released, I couldn't wait to make a holiday card with it! I found a design by American demonstrator Shelby Loster Ragsdale on the Internet, then changed it to suit my holiday theme and personal taste.
Here's what I came up with:
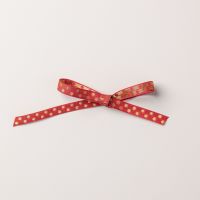
To make this card, I started by stamping my sentiment from the Home for the Holidays Kit Stamp Set onto a 3/4" x 3 1/2" strip of Basic Beige Cardstock. This kit has just sold out (for good), but another sentiment would work well, too.I used a hand-held hole punch (available from stationery or discount stores) to create a small hole in the left side of the sentiment strip. Then I fed through a small length of Real Red & Gold 3/8" Dotted Ribbon, tied once, and trimmed with Paper Snips scissors. I cut a chevron shape in the right edge of the sentiment.
I also stamped a large sea star from the Seaside Wishes Stamp Set in Shaded Spruce Ink onto a scrap of Basic White Cardstock. I used the Seaside Wishes Dies to cut it out, but Paper Snips scissors would also work well.
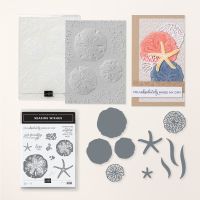
Here's the lovely Seaside Wishes Stamp Set:
I grew up next to New River Beach Provincial Park, New Brunswick, where there is a kilometre-long tidal beach with very fine sand. We can often find sand dollars - so the Seaside Wishes Bundle is one I had to try!
To make the lovely sand dollars on the card, I used the Seaside Wishes Hybrid Embossing Folder, plus the matching Dies, with Basic Beige Cardstock. These items allowed me to emboss AND cut out the sand dollars in a single step!
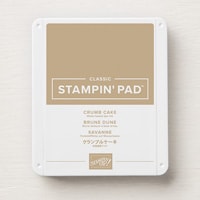
I then used Blending Brushes and Crumb Cake Ink to add a bit of colour to the centre of each sand dollar, making small circles.
Here are the Seaside Wishes Embossing Folder (which can also be used simply to make an embossed background) and matching Dies:
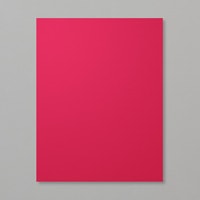
I also used the Dies and a scrap of Real Red Cardstock to cut out the larger of the filigree-style die cuts. I have to be honest here - I'm not sure exactly what it is, as I've never seen anything like it on a beach here. Coral, perhaps? In any case, it adds an elegant touch of colour to the card.
With my Take Your Pick Tool, I punched out the little pieces of paper left inside the die cut.
My next step was to cut a 4" square out of a card base, from the Brushed Gold Cards & Envelopes. I used the largest circle from the Stylish Shapes Dies to cut out the centre.
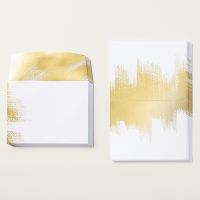
I've found the Brushed Gold Cards & Envelopes to be a great stand-in for patterned paper! They have gold foil detailing on both front and back of the card base, so it's possible to get a lot of shapes cut out of them. They're also a beautiful, decorative choice as card bases & envelopes:
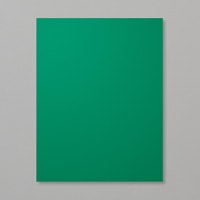
It was now time to move to assembly. First, I adhered a 3 1/2" square of Basic White Cardstock inside a 4 1/4" x 8 1/2" Shaded Spruce Cardstock card base. This square card base will fit in a standard-sized Stampin' Up!®️ card envelope.
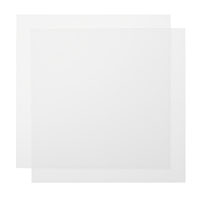
To make the window, I flipped over to the back my gold & white square with the circle cut out of the middle. I placed 4 Tear & Tape Adhesive strips around the sides of the square, as close to the circle opening as possible. Then I removed the backing from the tape and adhered a 3 3/4" square piece of Window Sheets to it.
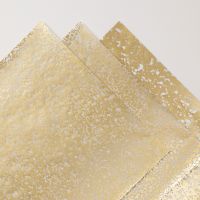
I next adhered a 3 3/4" square of Gold Mercury Vellum Specialty DSP to the front of the card base, securing with Tear & Tape Adhesive. This gorgeous vellum is new this month, from the recent Online Exclusives release:
The next steps are critical to make the shaker element of the card:
I added Foam Adhesive Strips to the 4 edges of the vellum, making sure that the strips met exactly to form a "fence." Having a fence with no gaps ensures that none of the shaker items will escape when shaken.
Then I added a teaspoon of sand to the centre of the vellum. I carefully removed the backing from the Foam Adhesive Strips and placed the window piece on top, being sure to press down all the edges of the adhesive strips so they stuck hard.
Then - the moment of truth - shaking the card! Happily, all the sand stayed in!
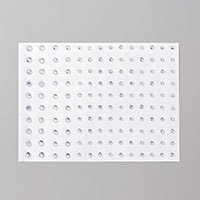
To finish the card, I used Stampin' Dimensionals™ and Mini Glue Dots™ to layer on all the die cuts and sentiment. Then I embellished with Rhinestone Basic Jewels. These are my go-to embellishments, as they both are inexpensive and match everything:
Thanks so much for joining me today! I hope my card will inspire you to make your own beach-themed cards for the holidays. I'd love to see what you create!
Please check out my Special Offers, including a FREE Christmas in July class by mail!
Special Offers
 |






No comments:
Post a Comment
How lovely of you to take the time to write a comment. Thank you - merci - woliwon!