Friends, it's a 25 C day here - that's 29 with the humidex - so I'm definitely in a summery mood, typing in my shorts & T-shirt!
So I thought I'd share a shaker card with you that includes beach sand from Lake Simcoe, Ontario, where our cottage is located. It makes me feel like I'm back in the middle of summer!
Here's my card:
I'll include a clickable photo supply list at the end of this post.
To make this card, I started by die cutting:
- a small tag from Basic White Cardstock, using Tailor Made Tags Dies
- the mid-sized scalloped rectangle from More Dazzle Specialty Paper, using Scalloped Contours Dies. I then used the Vintage Bottle Punch to punch a bottle shape near the bottom of the rectangle.
With Pretty Peacock Ink, I stamped my sentiment from the Bottled Happiness Stamp Set onto the tag. This set offers a lot of fun stamping possibilities, to build containers of flowers and greenery:Next, I layered onto a Basic White Note Card a 3 1/4" x 4 3/4" piece of Pool Party Cardstock and a 3" x 4 1/2" panel of Masterfully Made DSP.
To assemble the bottle, I flipped the Vintage Bottle Shaker Dome onto its back, so it was open on top, and poured sand inside. I peeled off the adhesive backing from the open side of the bottle dome, then stuck a 1 1/2" x 3" Pool Party Cardstock scrap to it. Tip: Ensure that the paper covers the entire dome and all of its edges, so the sand will not escape.
Next, I flipped over the dome onto its front. I peeled off the adhesive coating from the front of the dome and adhered the scalloped rectangle with the bottle-shaped hole in it securely around the dome. I then added the dome to the card.
Here's what the Vintage Bottle Domes look like before they are adhered to a card:
To finish the card, I used Stampin' Dimensionals™ to attach the stamped tag. I fed a small length of Pool Party 3/8" Grosgrain Ribbon through the tag's hole, tied a knot, and trimmed. Then I embellished with Iridescent Rhinestone Basic Jewels.
Friends, I hope you enjoyed my project today! If you have questions, just let me know. I love to hear from you!
Please check out my Special Offers - including my BOGO and a starter kit special!
Special Offers
Available anywhere in Canada, just from Oct 15-21. First come, first served!
Available anywhere in Canada. NEW holiday-themed classes available now!
Order with me & earn freebies in my new loyalty program!
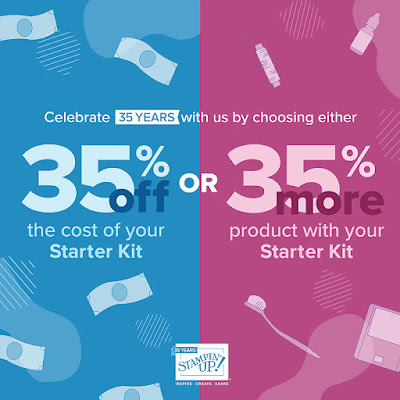
Just in time for holiday crafting! Choose from 35% less cost - or 35% more product! No tax, no shipping in most provinces & territories.
No selling required. You don’t even have to buy anything else, ever!
Click here to find out more
Receive FREE pre-cut paper pieces in your mailbox as my thanks! (Canadian addresses only)
💻 Follow my blog:
Click the button below so you won't miss a single card!

Click Photo to Purchase in my Online Store:


No comments:
Post a Comment
How lovely of you to take the time to write a comment. Thank you - merci - woliwon!