Welcome to our blog hop from the border town of Saint Stephen, New Brunswick, Canada! I'm just across the river from Calais, Maine, USA. Both communities are part of the traditional territory and current home of the Passamaquoddy, and I'm grateful that they share this beautiful place with us.
Today we're hopping across the Stampin' Up!® world, through Canada, USA, and Australia. You'll see cards made by talented creators from the Inspirations in Ink group. I'm honoured to be part of this lovely community!
Please be sure to check out the Blog Hop Links near the end of this post, to see all the other cards.

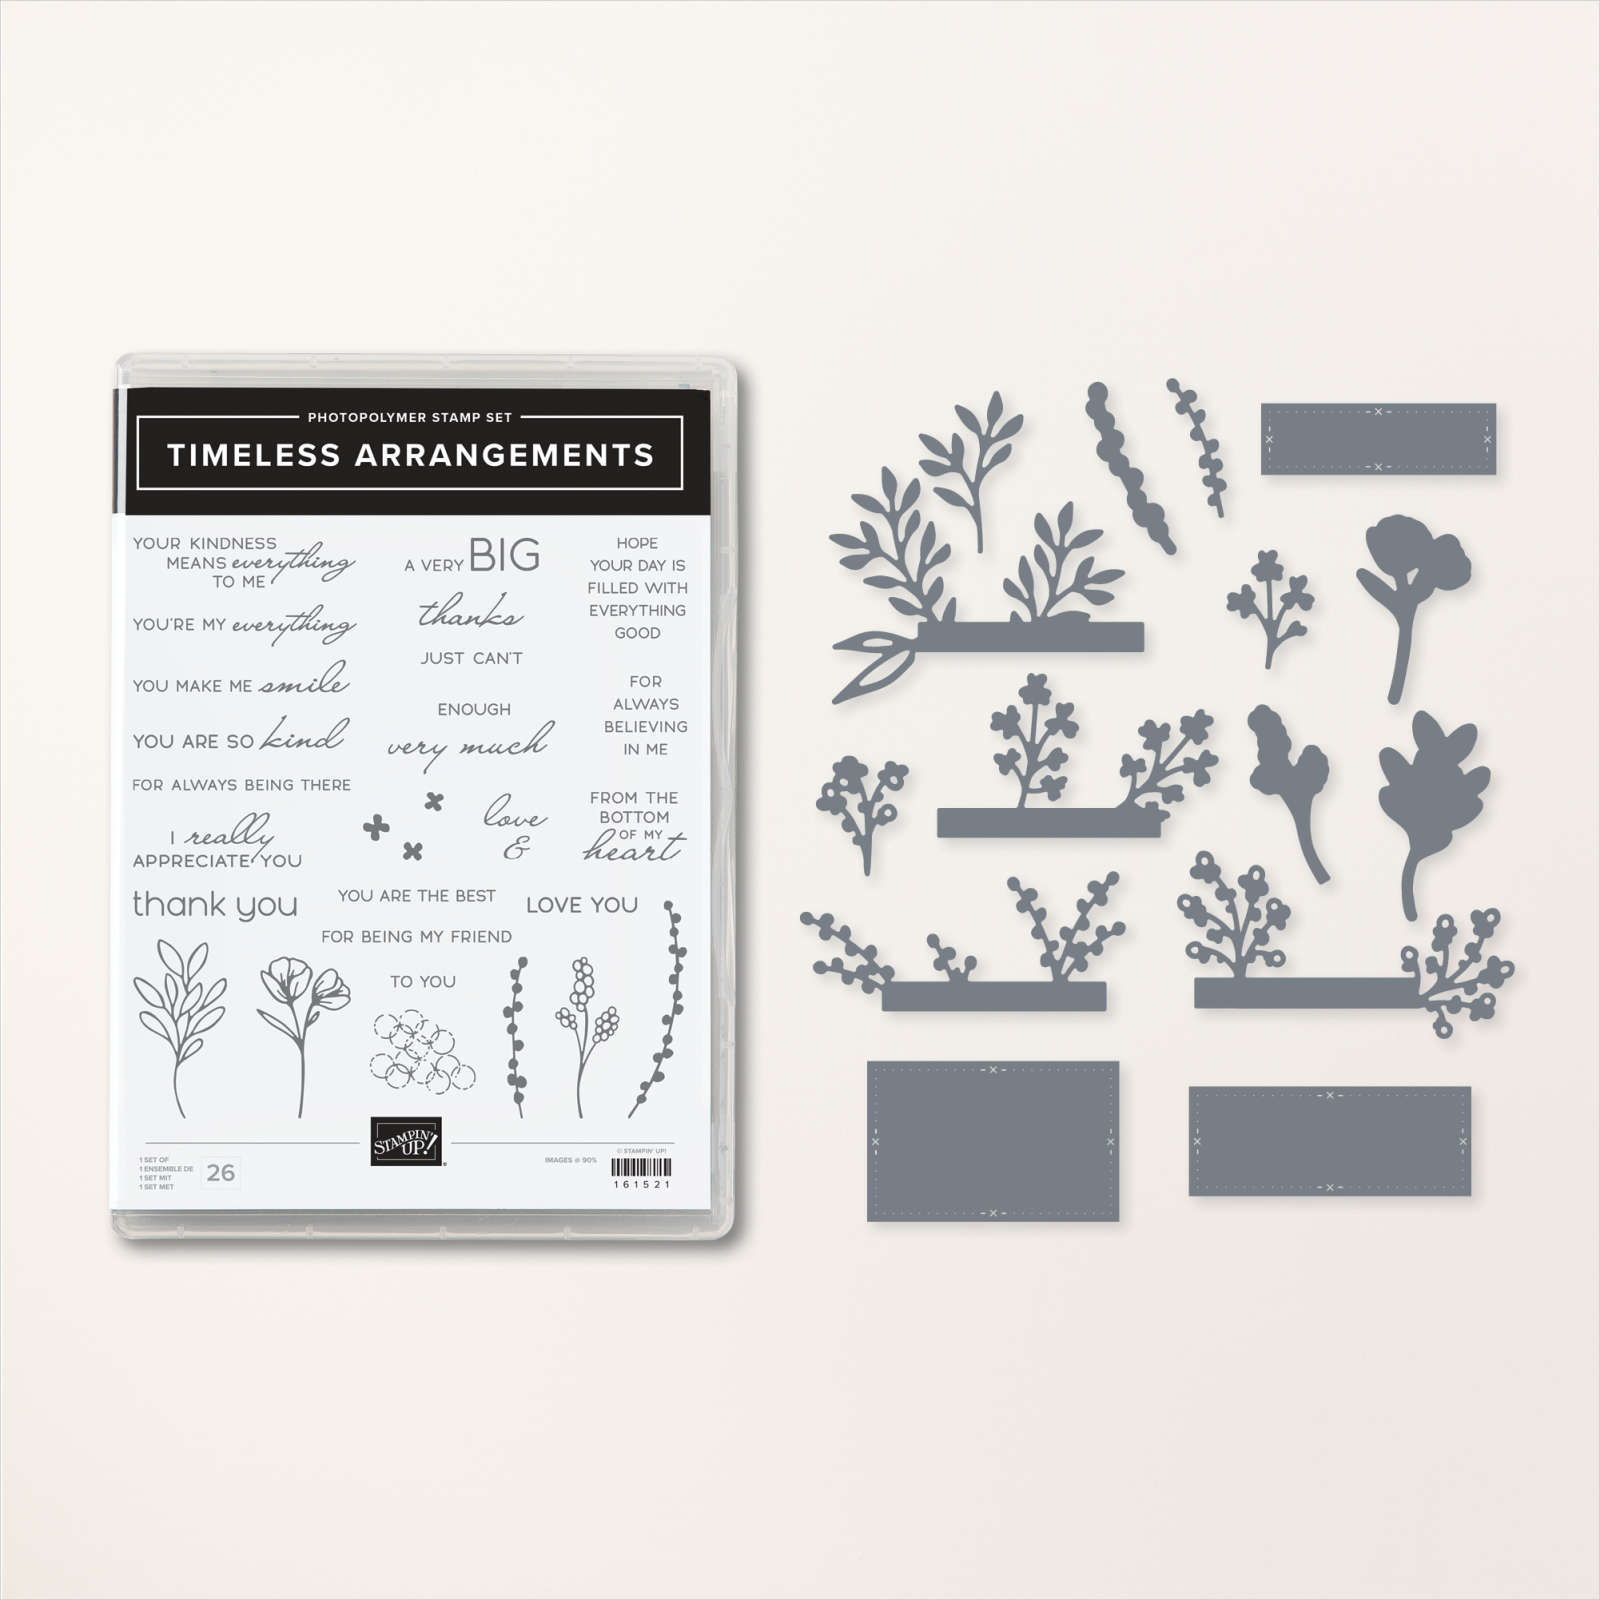
This month, we're featuring the Timeless Arrangements Bundle in both our blog hop and monthly tutorial bundle (available June 1st). With its many sentiments and easy-to-assemble die cuts, Timeless Arrangements is sure to be a valuable addition to any stash!
I'll include a clickable photo supply list at the end of this post.
Here's a look at the bundle:
For my card, I decided to use the Zoo Crew DSP as a background, then layer on some Timeless Arrangements die cuts. My colour scheme is simple: Basic Black, Real Red, and Basic White.

To make this card, I started by using the Timeless Arrangment Dies to cut two labels of the same size in Basic White and Basic Black Cardstocks. Then I stamped the sentiment from the Bundle in Tuxedo Black Memento Ink and adhered the labels to each other, overlapping them slightly.
On a scrap of Basic White Cardstock, I also stamped the flower image in Tuxedo Black Memento Ink. I coloured the flower and leaves with Real Red and Granny Apple Green Stampin' Blends™. Then I used the Timeless Arrangements Dies to cut them out.
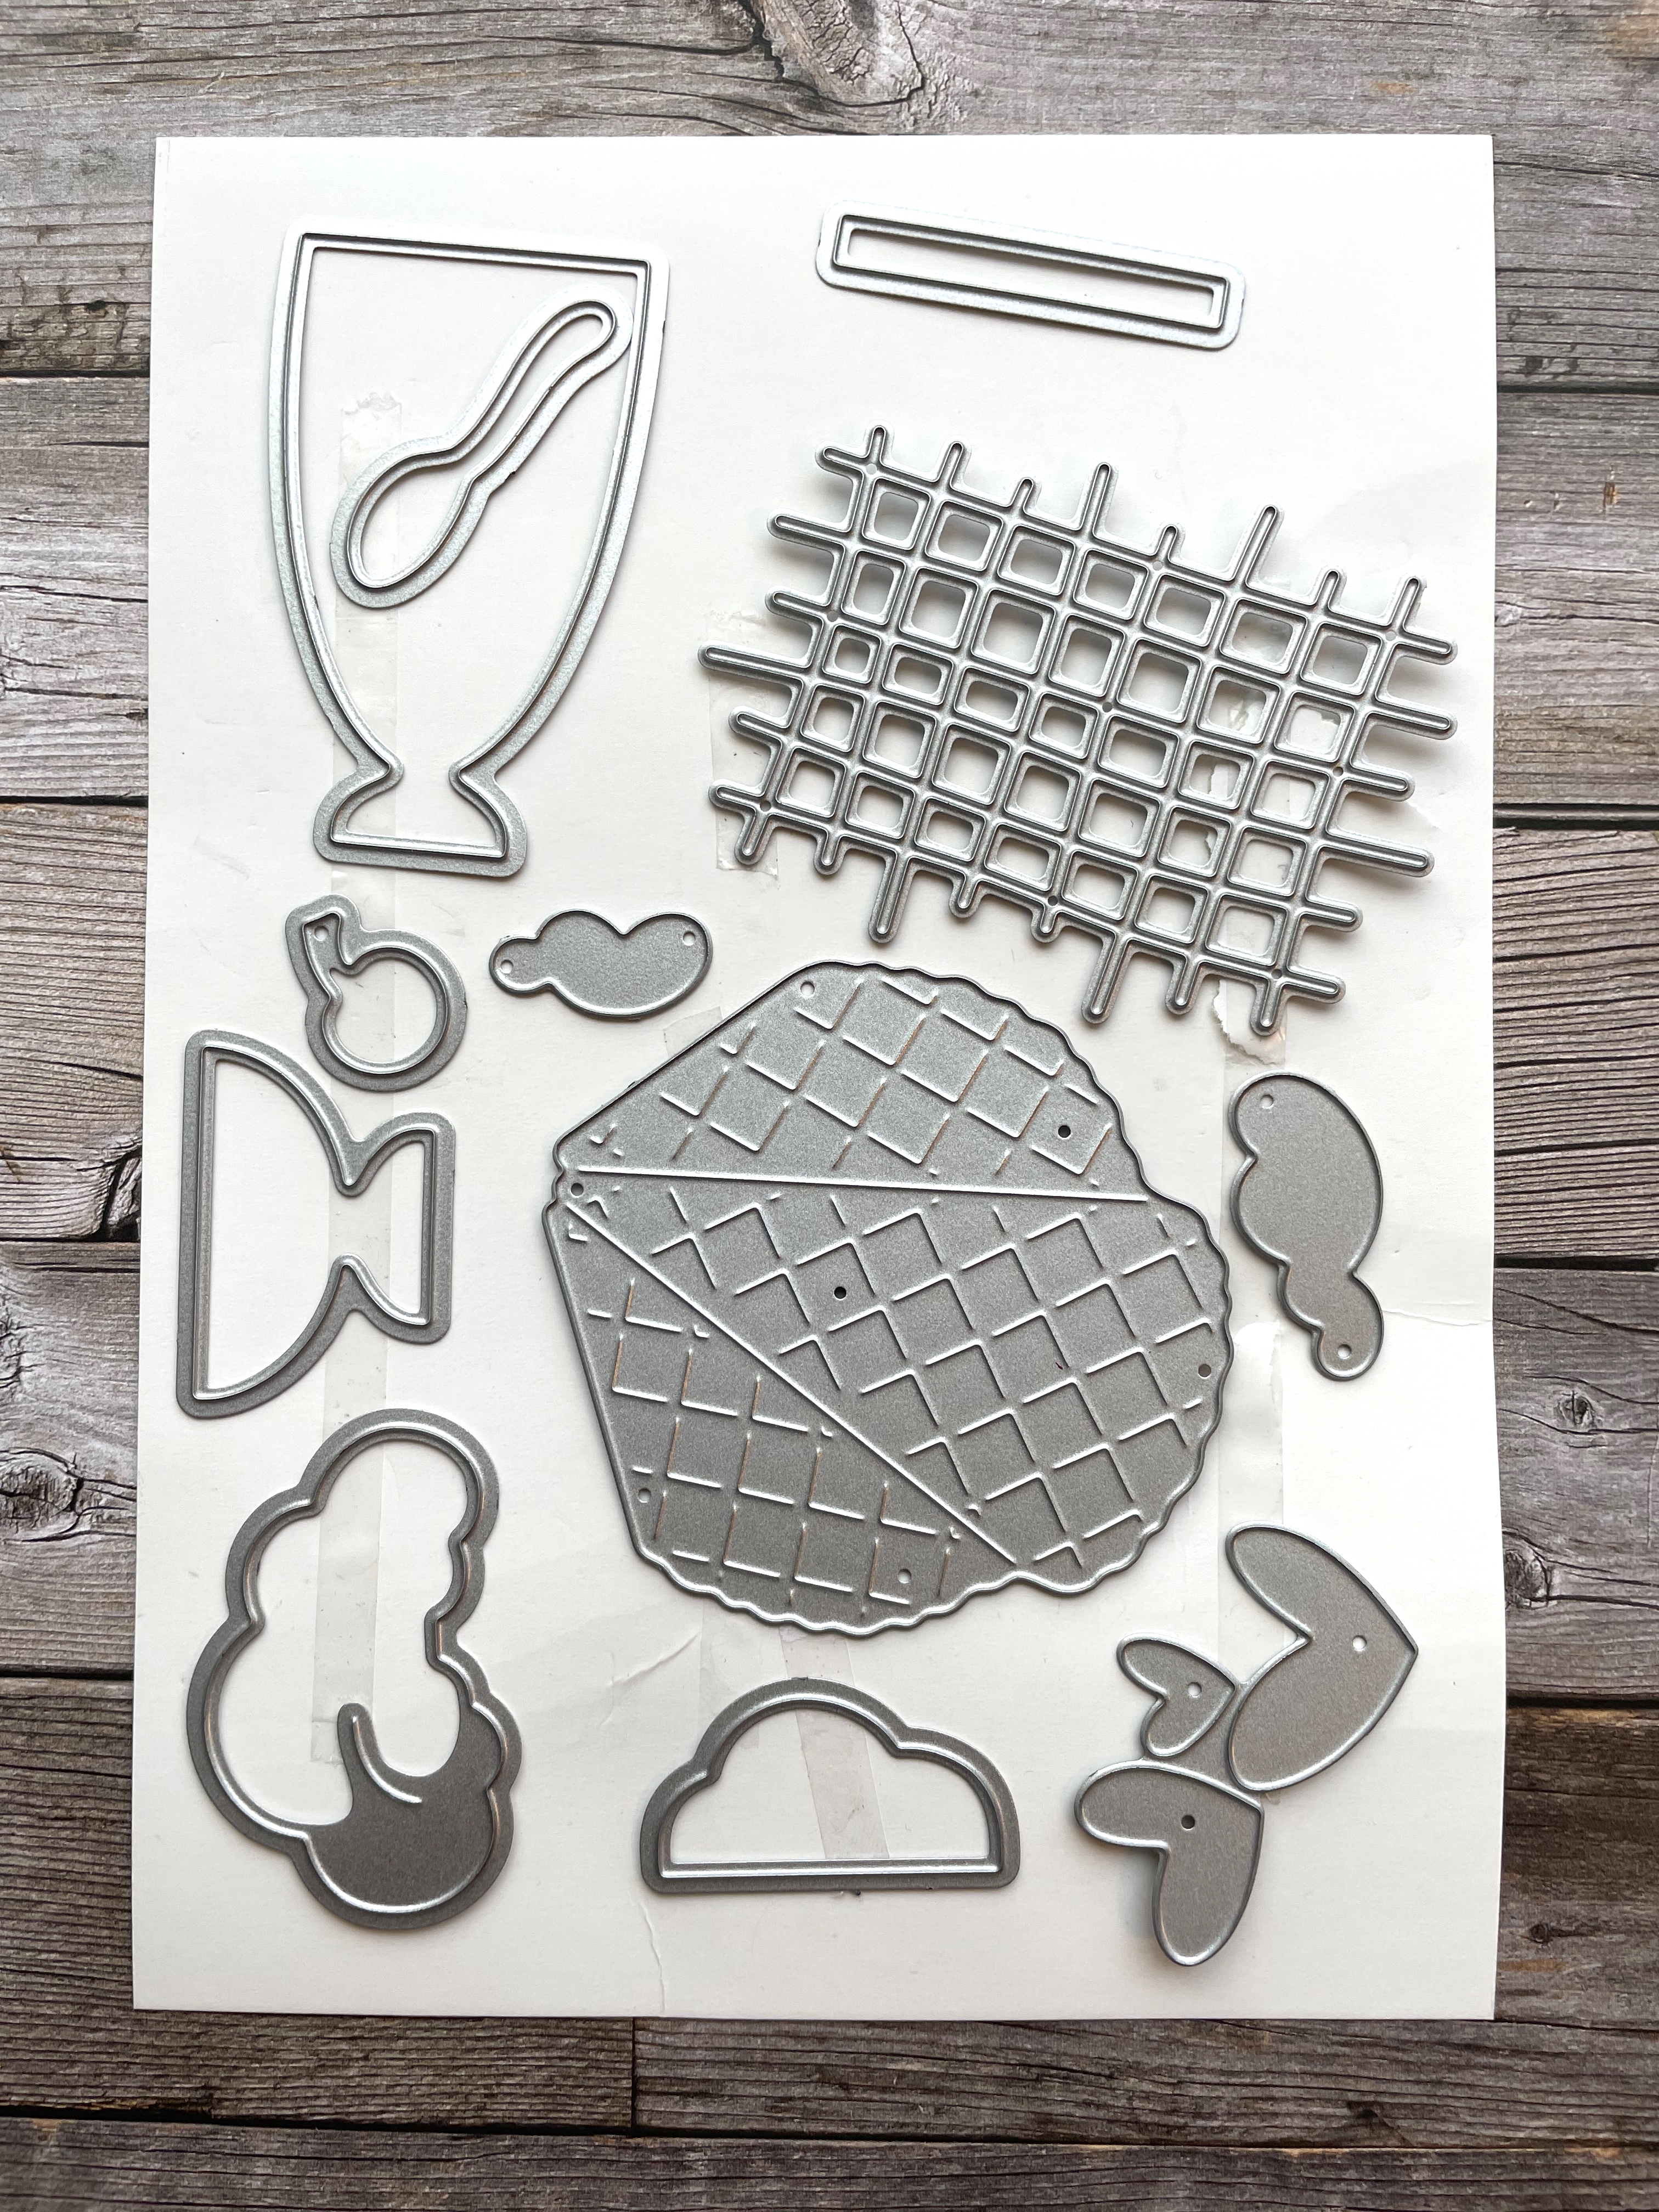
In addition, I cut out the three hearts from Real Red Cardstock, using Share a Milkshake Dies. Here are the dies in that set:
Next, I adhered a 3 1/2" x 4 3/4" Real Red Cardstock panel to a 3 3/4" x 5" Basic White Cardstock panel. I then added a 3" x 4 1/4" piece of the super-cute Zoo Crew DSP, adhering it to reveal the black & white dot pattern side. This paper is great for children's occasions - but also fantastic for use as an abstract black-and-white paper.

I then added all the adhered panels to a 5 1/2" x 8 1/2" Basic Black Cardstock card base using Stampin' Dimensionals™. Inside the card, I adhered a 3 3/4" x 5" Basic White Cardstock panel.
On the front, I layered on the labels, hearts, and flowers, popping some up with Stampin' Dimensionals™. I added a Real Red bow made from the Real Red & Garden Green Ribbon Combo Pack, securing with a Mini Glue Dot™.
Friends, I hope you enjoyed my project! Please check out the other cards and also my Special Offers, below.
Blog Hop Links
Christy Gridley – USA
Deirdre Croal – USA
Julie Golding-Page – Canada
Karen Beck - Canada
Theresa McEntee – USA
Robbie Rubala - USA
🛍 Shop with me in May & receive FREE pieces to make this card!

Special Offers

Collect ALL the new colours - without breaking the bank!
Click here to sign up for Colour Club


No selling required. You don’t even have to buy anything else, ever!
Join our happy crafting community that stretches across the country, from southern Alberta to northern Labrador - and get 20% off future purchases!


")

 Ribbon Combo Pack")
 Designer Series Paper")


So bold and beautiful!
ReplyDeleteLove how you take a second look to see all the detail. Stunning!
ReplyDeleteSo pretty with red, white & black. A great way to use DSP
ReplyDeleteI love the bold colours Julie & your addition of extra elements with this lovely Bundle.
ReplyDeleteLovely & sweet card Julie!! I'll have to remember your layout for Valentines!
ReplyDelete