
Spring greetings from Saint Stephen, New Brunswick, Canada! I'm located just across the border from Calais, Maine, USA, along the Skutik/Saint Croix River, in the traditional territory of the Peskotomuhkati/ Passamaquoddy. I'm grateful that they share this beautiful place with us.
Welcome to everyone blog-hopping around the Stampin' Up!® world with us this month! Our cards were created by talented friends from the Inspirations in Ink group. Our members live in Austalia, Canada, and the USA. Don't miss the links to everyone's projects near the end of this post.
This month, we're featuring the new 2023-2025 In Colors, which release May 2nd. We hope you enjoy these sneak peeks!

My card features the Seaside Bay Bundle and 4 of the 5 new In Colors. Check back to order when they go live May 2.
To make this card, I started with a 3 3/4" x 5" panel of Fluid 100 Watercolor Paper. I then inked an acrylic block in a Wild Wheat Ink Pad. I did the same with 2 more blocks in Boho Blue and Moody Mauve Ink Pads.
With the largest Water Painter, I added quite a bit of water to the Wild Wheat acrylic block, then made several strokes in Wild Wheat across the bottom third of my panel. I repeated the process on the rest of the panel with Boho Blue and Moody Mauve, blending a little between colours.
I found the Fluid 100 Watercolor Paper was terrific for this project, especially since I'd used a fair bit of water. The paper kept its shape well and dried quickly. Here's the paper, available from Stampin' Up!®:

Next, I die cut a Very Vanilla Cardstock label from Waves Dies and stamped my sentiment from the Seaside Bay Stamp Set in Copper Clay Ink. I also stamped the 3 small shore birds from the set in Copper Clay Ink onto a Very Vanilla Cardstock scrap. I cut them out with Seaside Bay Dies.
Also using Copper Clay Ink, I stamped the sand stamp repeatedly and randomly across the Wild Wheat section of the watercolour panel. Tip: Use a light hand.
To assemble, I adhered the watercolour panel to a 3 3/4" x 5" Very Vanilla Cardstock panel. I fed a length of Copper Clay Textured Ribbon through my stamped tag, attached the tag to my panel with Stampin' Dimensionals™, and secured the ribbon to the back of the panel with Mini Glue Dots™. I then added a bow, also with Mini Glue Dots™. Here's a sneak peek of the Copper Clay Textured Ribbon:

I next adhered my panels to a 5 1/2" x 8 1/2" Wild Wheat Cardstock card base using Stampin' Dimensionals™. Then I used Mini Stampin' Dimensionals™ to add the shore birds. My final step was embellishing with 2023-2025 In Color Dots.
Thanks for stopping by, friends! Please check out my Special Offers - and don't miss my friends' blog hop cards.
Blog Hop Links
Robbie Rubala - USA
Vicky Wright – Australia
Christy Gridley – USA
Deirdre Croal – USA
Julie Golding-Page – Canada
Karen Beck - Canada
Rebecca Nutley - Australia
Theresa McEntee - USA
Special Offers
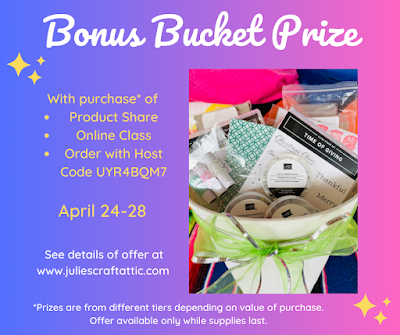
🎁 Get a Bonus Bucket Prize - Click for details
🌈 Sign up for a Colour Club
Collect ALL the new colours - without breaking the bank!
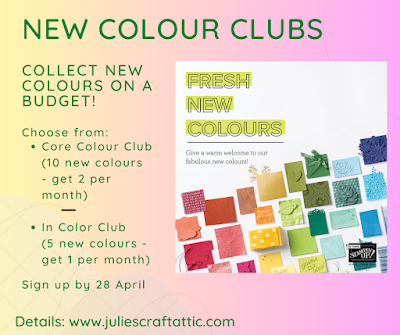
Click here to sign up for Colour Club
🎁 Shop with me & receive a FREE card to make!


- FREE tutorial bundle featuring Colouring Techniques


 |
| Irresistible Blooms Simple Stamping Class Click here for info |
 |
| Playing in the Rain - Club Membership Optional Click here for info |
No selling required. You don’t even have to buy anything else, ever!

Join our happy crafting community that stretches across the country, from southern Alberta to northern Labrador!


")


Julie, love that you used so many of the in colors and how well they all go together.
ReplyDeleteLovely card Julie!! A beautiful way to show off the new In Colors and I love how you threaded your ribbon through the sentiment label!
ReplyDeleteGreat card Julie. Love the colouring & of course those lovely new In Colours
ReplyDelete