Friends, yesterday I made a card with a colour scheme of Evening Evergreen, Soft Succulent, and Gold for St Patrick's Day. Today I've changed up the colours to Cajun Craze, Petal Pink, and Gold. I'd love to hear which one you prefer:
This


Next, I did the die cutting and dry embossing. I first cut out the stamped teacup with the Teacup Dies. With the same dies, I cut out 3 hearts using a Gold scrap of Fine Shimmer Paper Pack.
With the 3rd largest circle in the Stylish Shapes Dies, I cut out a Petal Pink Cardstock label. I stamped my sentiment in Cajun Craze Ink. Then I used the Brick & Mortar 3D Embossing Folder to emboss a 3" x 5 1/4" strip of Cajun Craze Cardstock. This is a great folder that can be used in many projects:
To assemble the card, I first layered onto a 4 1/4" x 11" Crumb Cake Cardstock card base the embossed strip, plus a 2 1/2" x 5 1/4" piece of Gold Fine Shimmer Paper and a 2" x 5 1/4" strip of Cajun Craze & Petal Pink Dry Brushed Metallic Specialty DSP.
To finish the card, I added all my die cuts, using Stampin' Dimensionals. Then I tied a bow in Gold 1/4" Shimmer Ribbon and attached it with a Mini Glue Dot. Finally, I embellished with Brushed Metallic Adhesive Backed Dots to give a finishing touch of shine: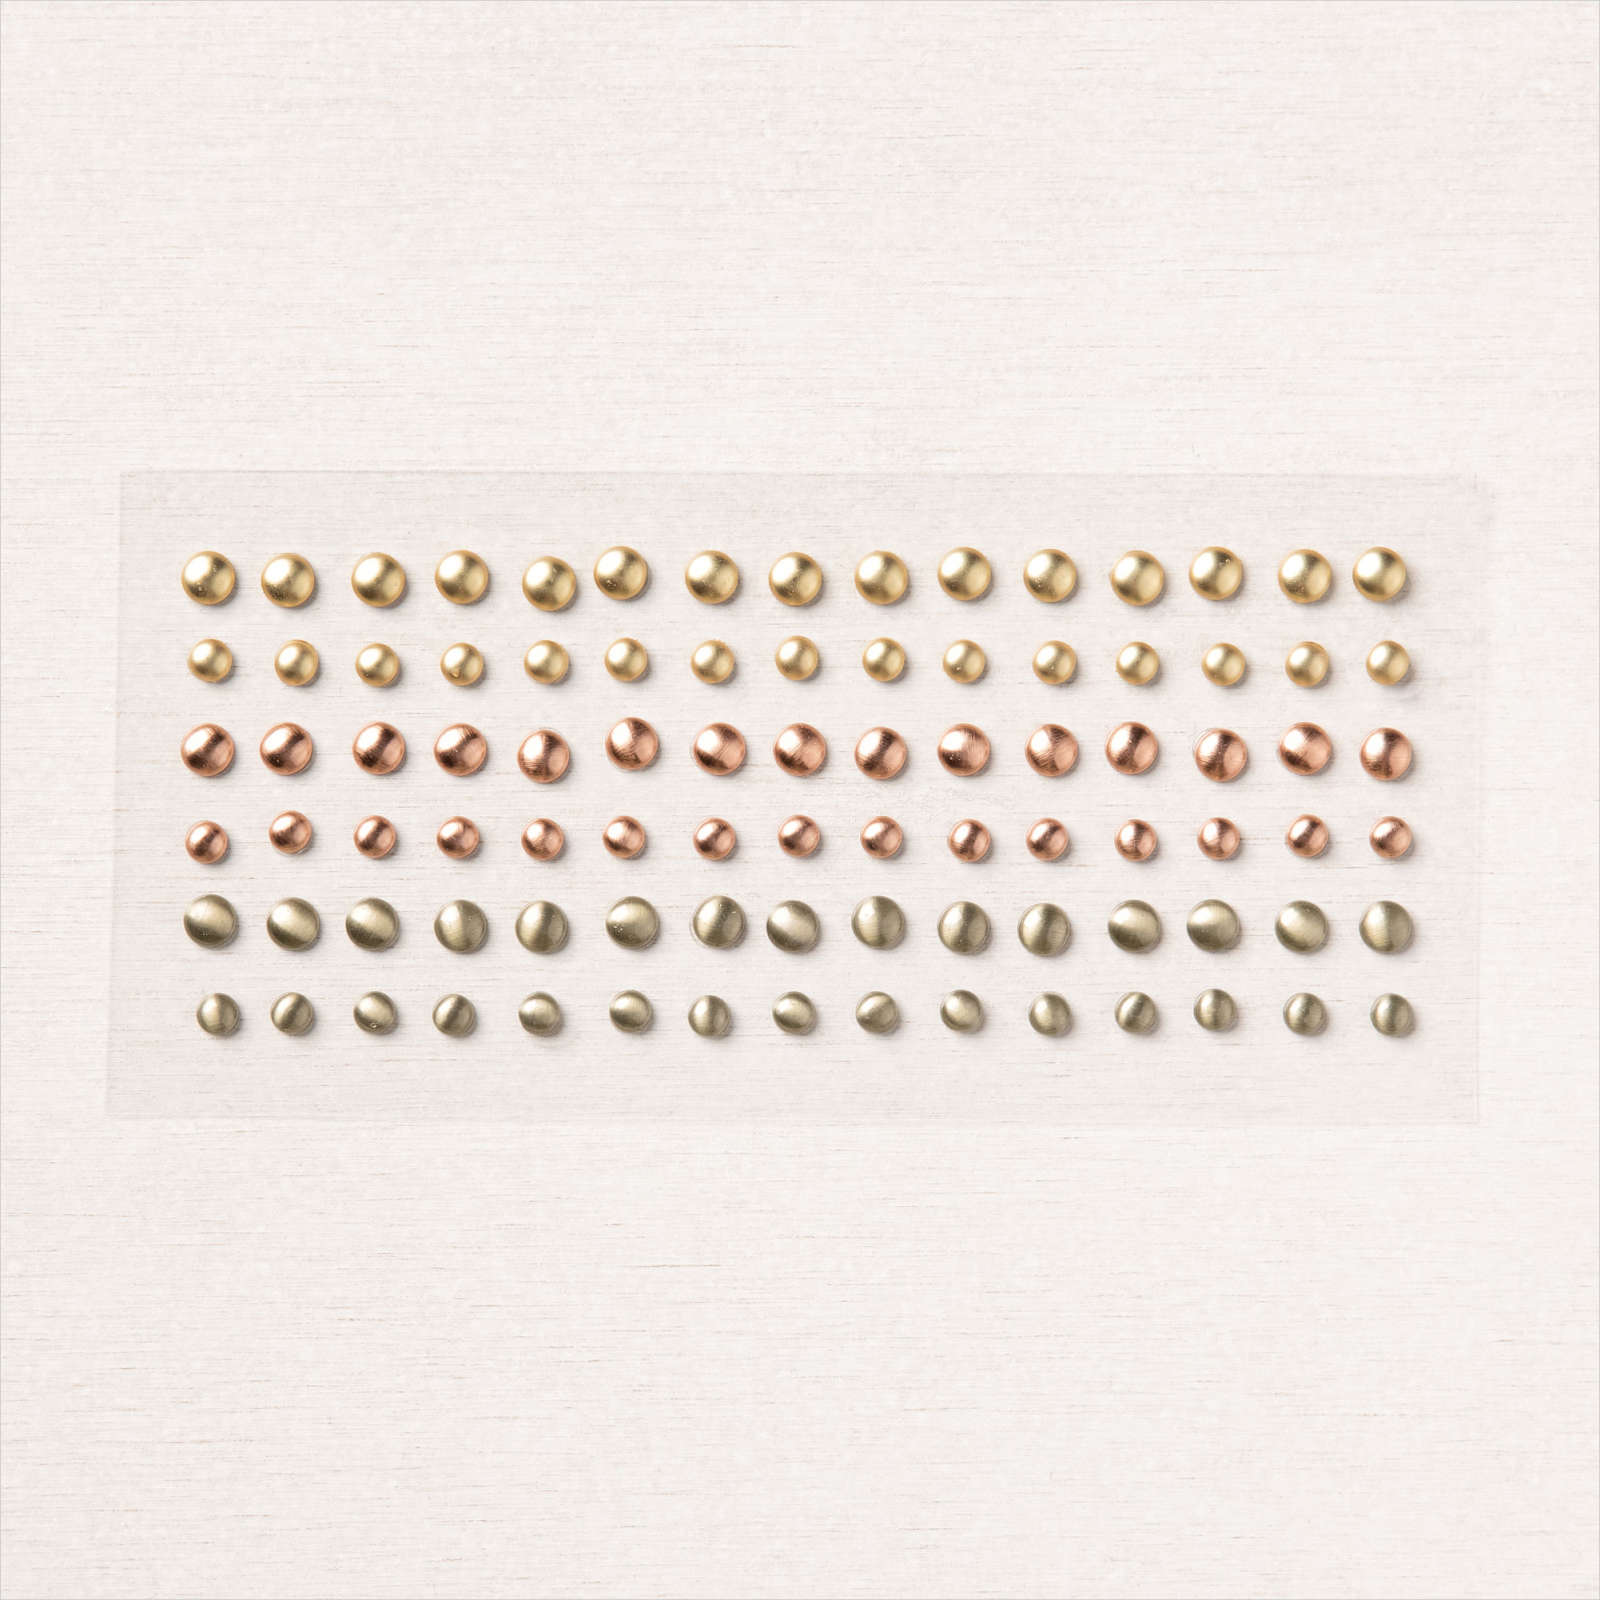
Friends, I hope you enjoyed both projects in today's This or That! If you're in Canada and don't have a demonstrator, I'd be happy to help with your order. Check out my special offers below!
And don't forget to join my BOGO group to start shopping on March 19th!
Special Offers

🛍 Shop with Me using Host Code YZFVA3SE & receive:
- FREE tutorial bundle featuring Playing in the Rain Bundle
- FREE card of the month

No selling required. You don’t even have to buy anything else, ever!

💌 Thank you for stopping by, friends, and I wish you a wonderfully crafty day!
")
")


 Shimmer Ribbon")

 Specialty Designer Series Paper")
 Paper Pack")


")


No comments:
Post a Comment
How lovely of you to take the time to write a comment. Thank you - merci - woliwon!