Friends, I hear that groundhogs across Canada saw their shadows - indicating 6 more weeks of winter to come. That means 6 more weeks of crafting, too, hooray!
And so today I have another technique for you to use with dry embossing, this time employing Blending Brushes. (If you missed yesterday's card, on inking your embossing folder for a trendy distressed look, click here.)
Once again, my card features the beautiful (and super easy to use!) Framed Florets Bundle, with their wonderful decorative ovals. Ce produit est également disponible en français. I'll include a clickable photo supply list for you at the end of this post. Today I decided on a card that used the stamp set but not the oval dies:
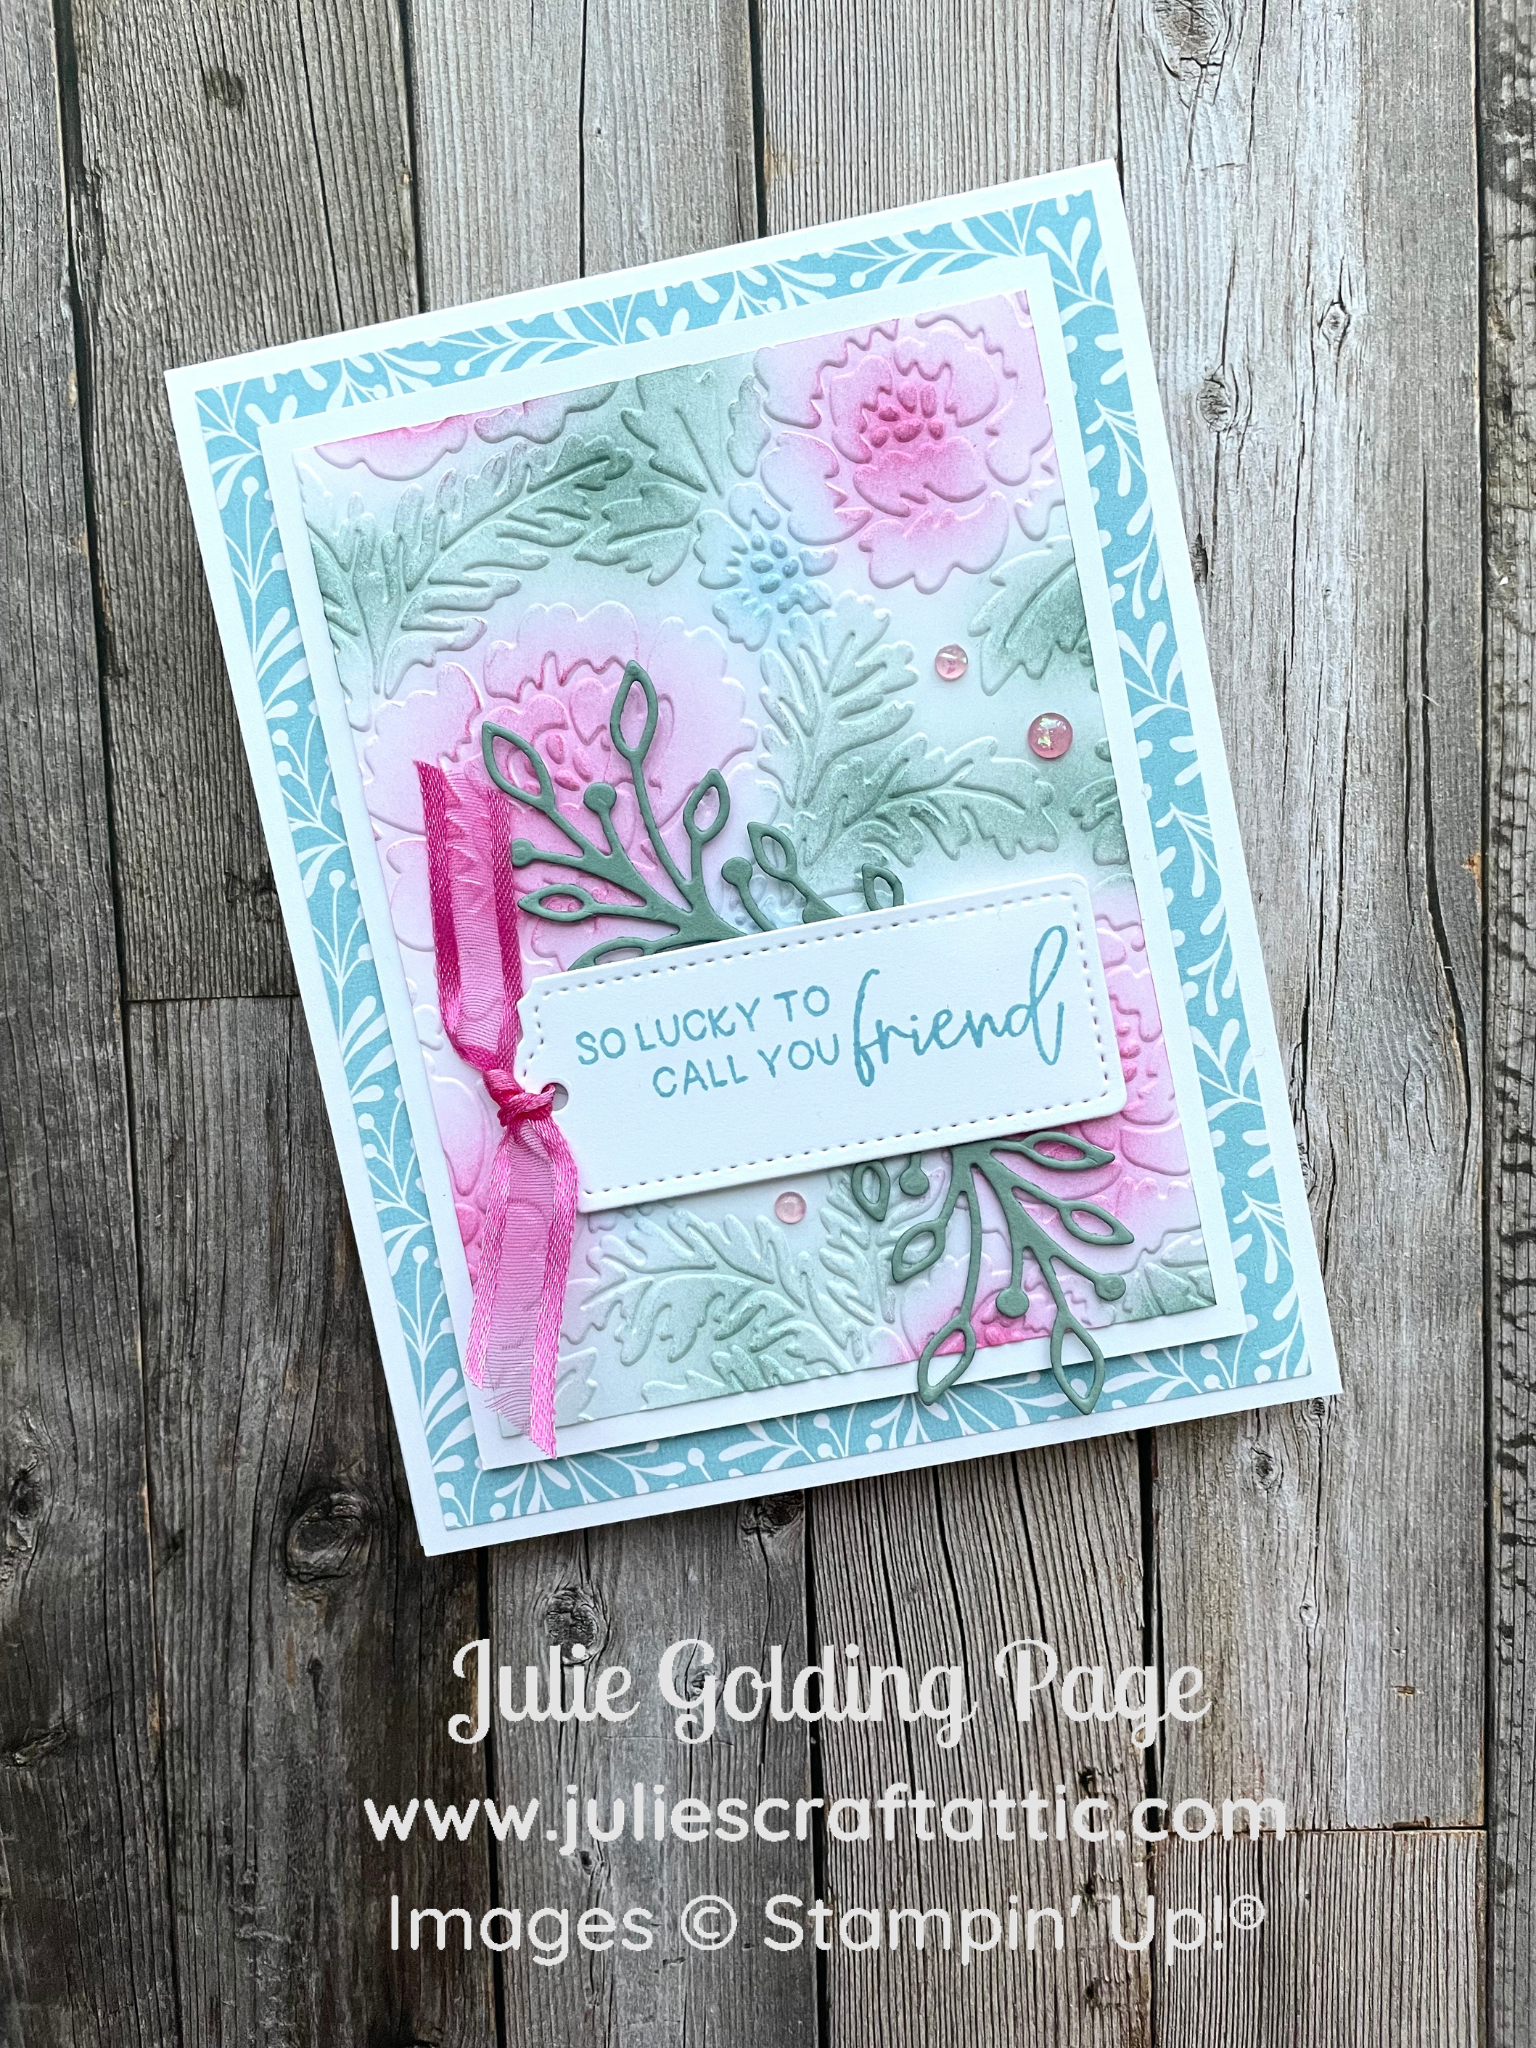
To start, I used my Tailor Made Tags Dies to cut a tag from Basic White Cardstock that would fit my sentiment (taken from the Framed Florets Stamp Set). I stamped the sentiment in Balmy Blue ink.
Next I worked on the ink blending and embossing panel. I used the Pretty Flowers Embossing Folder in my (standard-sized, not mini) Stampin' Cut & Emboss Machine to emboss a 3 1/4" x 4 1/2" Basic White panel. Then I used Blending Brushes to add ink, in circular motions, to the flowers and leaves. I chose Polished Pink, Balmy Blue, and Soft Succulent as my ink pad colours. I simply rubbed the brushes into the ink pads, then tapped and rubbed them lightly on scrap paper to see how intense the colours would be, before adding the ink to the panel. While yesterday's card technique involved being generous with ink, I found that using ink fairly sparingly worked best for this technique. I could then go back and add more ink as needed.
To assemble the card, I used Stampin' Seal to adhere the inked panel to a 3 1/2" x 4 3/4" Basic White panel. I then added a 4" x 5 1/4" Fitting Florets DSP panel to a 4 1/4" x 11" Basic White Thick Cardstock base. This DSP is no longer available but could be substituted with another DSP in a coordinating colour, such as one of the Balmy Blue prints of the Dandy Designs paper. Bonus, it's available to be earned FREE during Sale-A-Bration! Here's a look at the great variety of colours in Dandy Designs:

I next added the inked panel to the card base with Stampin' Dimensionals. Then I used Polished Pink Open Weave Ribbon to tie a knot through the stamped tag. I arranged two Soft Succulent die cuts, made from the greenery-shaped Framed Florets Dies, on the back of the tag. I secured them with household tape, then added the tag to the card with Stampin' Dimensionals. My final step was to embellish with 2021-2023 In Color Opal Rounds. I really like those embellishments, as they are translucent with a sparkle:

Tip: Since these and all other 2021-2023 In Color items will be retiring as of the end of April, it's a good idea to order your favourites now, ahead of the rush. They tend to sell out around or even before the retirement date, but they're still in stock as of now.
Special Offers

Shop my online store with host code K9CUADW2 by Feb 6 and receive both a FREE ephemera pack AND FREE Seaside Bay tutorial bundle!

No selling required. You don’t even have to buy anything else, ever!

During Sale-A-Bration, choose from:
Option 1 - Mini Stampin' Cut & Emboss Machine ($86 value) + past Paper Pumpkin kit ($26.50 value) + choose $225 of ANY products for just $175
Option 2 - Choose $225 of ANY products + past Paper Pumpkin kit ($26.50 value) for just $135
NO shipping & NO tax in most Canadian regions!

Thank you for stopping by, friends, and I wish you a wonderfully crafty day!
Product List
")
")


 Designer Series Paper")
 Open Weave Ribbon")


No comments:
Post a Comment
How lovely of you to take the time to write a comment. Thank you - merci - woliwon!