Friends, have you ever made a quilt card?
There are lots of different versions of this project. I've decided to share this one, as it is the simplest way that I know to make a quilt card. We made it at an in-person class last week, and everyone had fabulous results!
Here's my card:
To make this card, I first used the Something Fancy Dies to cut a label from Berry Burst Cardstock and a slightly smaller one from Basic White Cardstock. I stamped my sentiment from the Hot Air Balloon Stamp Set in Azure Afternoon Ink, then adhered the labels together.
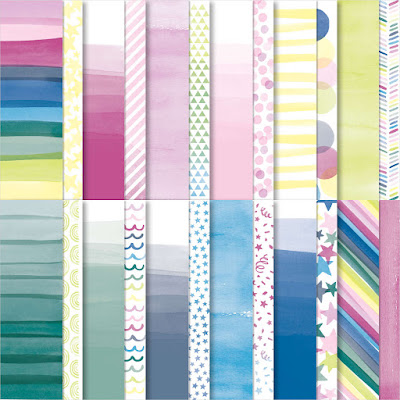
I then cut 20 strips from the Bright & Beautiful DSP. Each strip was 1/2" x 6" and I cut 5 each of 4 different patterns. However, you could use any number of patterns you like - or just random scraps, for a crazy quilt effect.
The Bright & Beautiful DSP is so cheerful - and includes everything from subtle to bright colours, making it a great choice in many projects:
I also cut a 3 1/4" x 8 1/4" panel of Basic White Cardstock and applied a thin layer of glue around the edges, plus in the middle. Starting at the top left corner, I positioned one of the DSP strips diagonally, so that the strip covered both the top left corner and also the bottom edge of the paper. Important: every paper strip must be adhered to cover the edges of the Basic White panel.
I continued lining up several DSP strips, flush against each other, and overlapping the edges of the paper panel. After I had covered about 2/3 of the Basic White panel, I switched the strips' direction by lining up the short end of one of the strips with the long edge of another strip already glued on. (See right side of card photo.) Then I continued placing strips beside each other until I had covered the entire paper.
To assemble the rest of the card, I added the quilted panel to a 3 1/2" x 8 1/2" Azure Afternoon panel. Then I used Stampin' Dimensionals™ to attach the panels to a 3 3/4" x 8 3/4" Basic White Thick Cardstock card base. This creates a Slimline card. Tip: This card size fits in a business-sized envelope.
To finish, I used Stampin' Dimensionals™ to adhere my stamped label to the card. I tied a bow in Silver & White Sheer Ribbon, trimmed, and added it with a Mini Glue Dot™. Then I embellished with Rhinestone Basic Jewels.
Thanks so much for joining me today! I'd love to see your quilt cards, too. Please feel free to add them in the comments!
Special Offers
NEW Sampler Club - $30/month
How fun would it be to get a sampling of different Stampin' Up!®️ goodies in the mail every month? That's exactly what my NEW Sampler Club offers - for just $30!
In Color Club
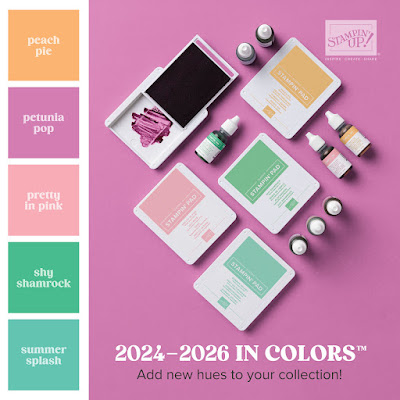
Collect the new In Color items without breaking the bank! You’ll receive an ink pad, Stampin’ Blends, cardstock and DSP in one colour each month for 5 months.


No comments:
Post a Comment
How lovely of you to take the time to write a comment. Thank you - merci - woliwon!