Hello from along the tidal Skutik (St Croix) River! I'm here in Saint Stephen, New Brunswick, Canada - just a few minutes' walk from Calais, Maine, USA.
This beautiful area is connected to the Bay of Fundy, home of the world's highest tides. It's the traditional territory and home of the Passamaquoddy, and I'm grateful they share it with us.
Thank you for joining us on our blog hop across the Stampin' Up!® world. Contributors are all members of the fantastic Demonstrator Training Program organized by Kylie & Bruno Bertucci in Australia. A big thank you to our fabulous leaders, Kylie & Bruno!
Today we're featuring cards we've made to say thank you to our lovely customers. When you shop with me this month, you'll receive the pieces to make this card as my thanks to you.
Just click on the Blog Hop Links at the end of this post to see more cards.
My July customer card features the Sweetest Cherries Stamp Set & coordinating Cherry Builder Punch. I chose them because it's cherry season here in Canada - such a delicious time of year!
I'll include a clickable photo supply list at the end of this post.

To make this card, I started by using the Designer Tags Dies to cut a tag from Basic White Cardstock.
I then stamped my sentiment from the Sweetest Cherries Stamp Set onto it in Tuxedo Black Memento Ink. I chose a birthday theme for July because it is my birthday month. (I love the fun of birthdays!)
Here's a look at the Sweetest Cherries Stamp Set:
- cherry from Soft Shimmer Specialty Paper (love that glittery finish!)
- leaf from Parakeet Party Cardstock
- stem from Pecan Pie Cardstock
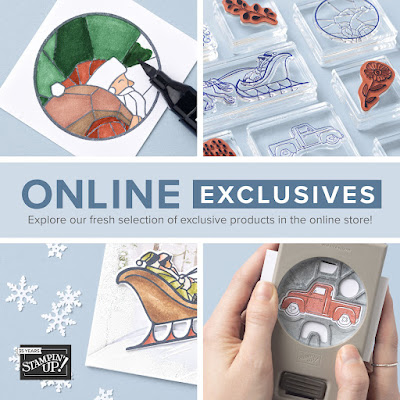
🎄 Shop Online Exclusives for NEW Holiday Products!
It's like Christmas in July! Check out the latest Christmas & winter items, including a brand new DSP.
🛒 Clearance Rack Refresh
Choose $165 worth of anything you want & pay just $135! No tax, no shipping in most provinces & territories.
PLUS you gain access to Creative Cafe, my cross-Canada crafting group thru October 31st! I offer a $15 monthly crafting class to members.
No selling required. You don’t even have to buy anything else, ever!
Click Photo to Purchase in my Online Store:


Love your card with the shiny cherry!
ReplyDeletePretty card, good enough to eat with the shiny cherry.
ReplyDeleteCherries and Gingham - love this!!
ReplyDeleteWonderful card Julie!!
ReplyDeleteLovely card. I forgot about the cherry punch, good reminder
ReplyDelete